Project

Let’s begin with a brief overview of all the graphs and nodes within the Hair Card Houdini project. The central node in this project is the hair_card geometry node. All the necessary components for generating and rendering the fiber geometry can be found within this node. Furthermore, this facilitates the creation of a Houdini digital asset.

The hair_card node contains five distinct nodes: the ropnet node, the objnet node, the cop2net node, and a object_merge node, which is connected to the output node.
The ropnet node is responsible for rendering the geometry into images and contains the mantra renderer node and several composite nodes. The composite nodes access the cop2net node to fill empty pixels of the exported images, further details can be found in the Export section. The ropnet node cannot render any geometry directly within the hair_card node. Instead, the geometry needs to be added into an objnet node. However, by doing so, the geometry becomes invisible in the scene view. To address this, the geometry output of the hair_geometry node will be merged into the output of the hair_card node. This allows the fiber geometry to be visible in the viewport and at the same time be able to rendered by the mantra renderer of the ropnet.

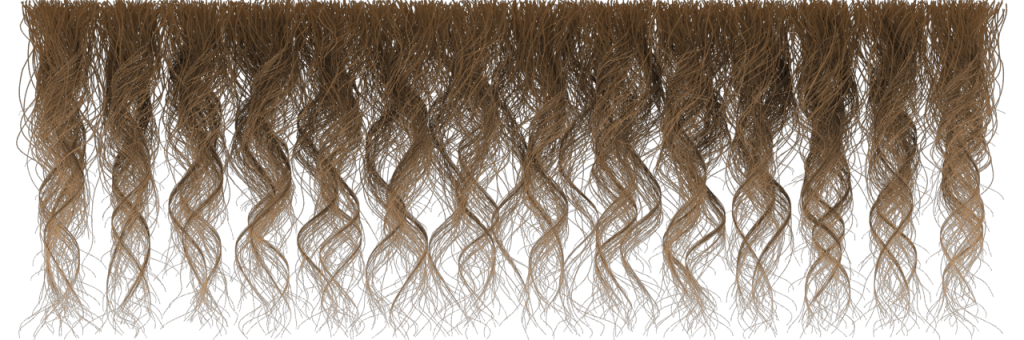
The objnet node consists of the camera used by the mantra renderer and the hair_geometry node. The camera is an orthogonal projection that precisely covers the full width and height of the hair card. Its position is placed at the center of the hair card. The hair_geometry node is the actual node that generates the random fiber geometry. This node will be further explained in the following chapter.
